Yudu: Two-Color Printing Tutorial

This tutorial assumes that you understand the basics of printing with the Yudu Personal Screen Printer.SUPPLIES NEEDED:Basic Supplies:
- Yudu Personal Screen Printer and basic components that come with the machine when purchased.
Supplies you will ALWAYS need on hand:
- Clear tape (I use 2" packing tape)
- Yudu Emulsion Remover
- spray bottle
- sponge
- paper towel for cleanup
- plastic knife and paper plate nearby (to keep mess under control)
- masking tape
Additional supplies for 2-Color Printing:
- a second 110 mesh screen (make sure it is 110)
- Yudu Registration Panels (come 2 count in a tube)
- 2 colors of Yudu ink
- trash can
DIRECTIONS:
1. Creating your transparencies.
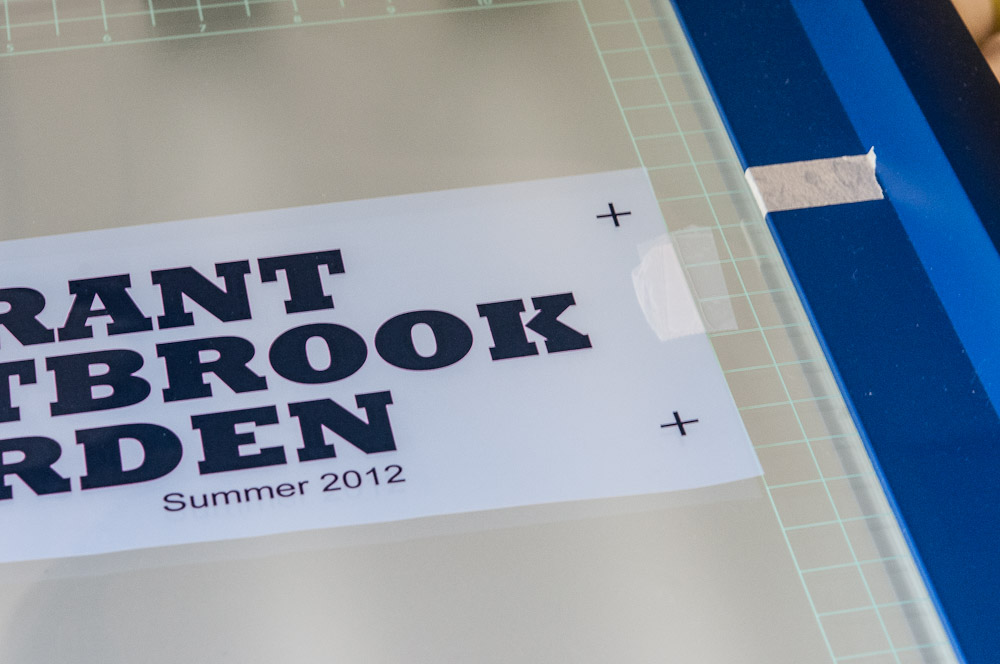
- Create your design in full color with whatever program you use and add enlarged Plus Signs (+) as registration marks to the corners, not too close to your design. (I use a great graphics program named VectorDesigner.)
- Copy and paste a duplicate of your design below the original so that you have two versions. (The transparency is 8.5" x 11" so I can fit both of my layers on one page.)
- Since you have two colors, you'll have two layers. Choose one of your copies to be the First Layer and one to be the Second Layer. Additionally, assign Color 1 and Color 2 tags to your colors.
- Layer 1 graphic: Change Color 1 to black and Color 2 to white.
- Layer 2 graphic: Change Color 2 to black and Color 1 to white.
- Print on the Yudu transparency according to manufacturer's directions.

- Let your transparency sit on the printer or carefully move to a flat surface until the ink dries completely.

2. Preparing to Print.
- With single color printing, I don't use the sticky surface of the platen. With two colors, however, you'll want to peel back the protective covering, exposing the adhesive, and then place your shirt on the platen and smooth it out. This will keep the shirt from shifting between colors.
- Decide where you want your design placed and mark the top placement of the design with a small piece of masking tape. Remove platen, with shirt on it, from the machine and set aside.
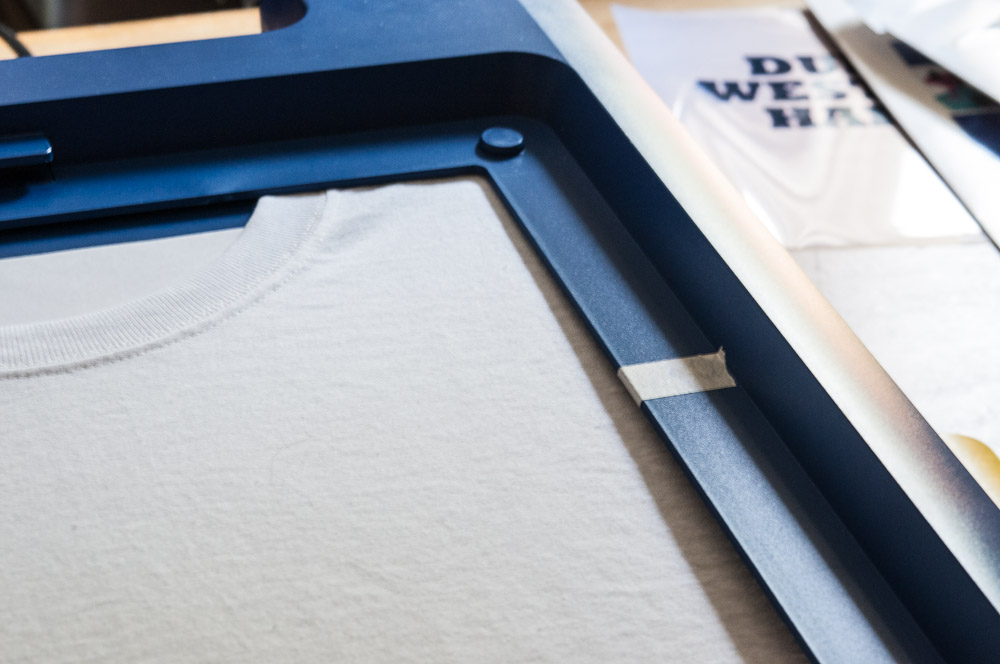
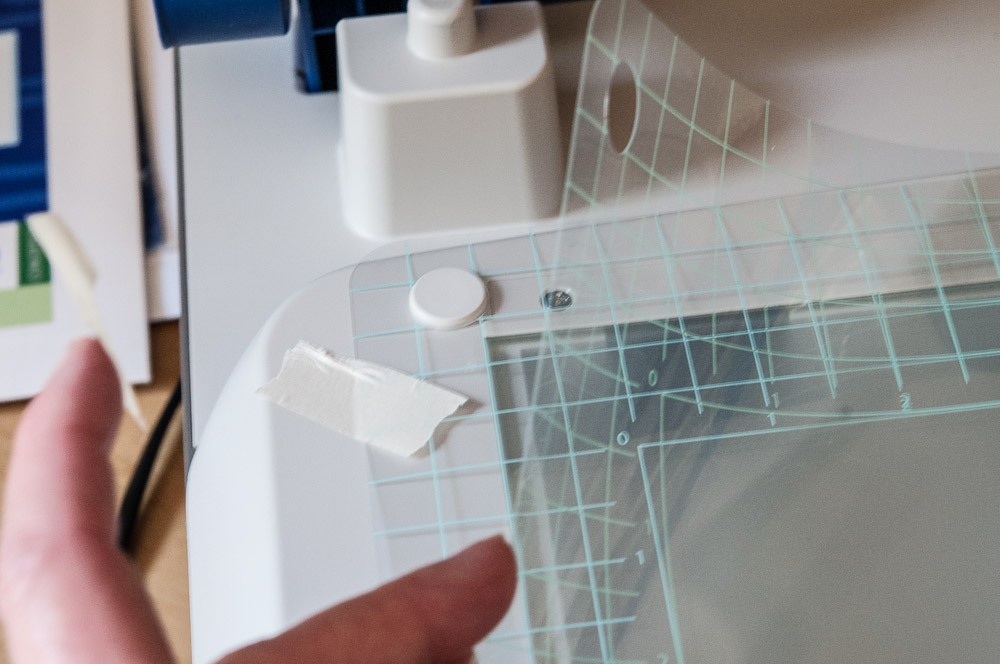
- There are holes in the corners of the Yudu Registration Panels that fit on the same raised circles that the Yudu's Mesh Screen fits on. Unroll one registration panel and fitting it over the circles, secure it to the machine in several places with tape.

- Place Layer 1 graphic on the Registration Panel 1, referring to your layout marks, and secure in place with CLEAR tape.
- Leave on the machine and tape a Registration Panel 2 over the first and tape securely.
- Next, tape Layer 2 graphic to Registration Panel 2, matching up registration marks (+),

- Line up the registration marks exactly and secure to registration panel with CLEAR tape.

3. Exposing the Screen.
- Keeping Layer 2 of your design securely attached, remove Registration Panel 2 and set aside.
- Now, with just Registration Panel 1 and Layer 1 graphic on the machine, insert Mesh Screen 1 and follow manufacturer directions for EXPOSING SCREEN.
- When process is done, turn off machine for 1 minute to cool down.
- When cool, secure Registration Panel 2 with Layer 2 graphic to the machine.
- Insert Mesh Screen 2 and repeat the EXPOSING SCREEN process.
4. Printing your design.
This is where a little preparation goes a long way. Assemble your supplies with in reach; paper towels, paper plate, plastic knife, trash can, 2 colors of Yudu ink, both mesh screens.
- Place your t-shirt, secured to the platen, in the proper place on the machine.
- Insert Mesh Screen 1 with Layer 1 graphic. (It didn't seem to matter if I used the design with the most or least amount of ink first.)
- Follow manufacturer's instructions on how to PRINT SCREEN using Color 1. Wipe squeegee completely clean.

- After printing Color 1, quickly remove Mesh Screen 1 and replace it with Mesh Screen 2 containing Layer 2 graphic.
- Repeat the printing process with Color 2.
- Remove and immediately clean screens.
NOTE: If you are printing more than one shirt, quickly remove the printed shirt from the platen and replace it with a new one. Using Mesh Screen 2 that is still on the machine, print with Color 2. Wipe squeegee clean and change out screens. Now, with Mesh Screen 1 back in place, print with Color 1. Repeat this process until all shirts are printed. Take care that the ink doesn't dry on your screen. Unfortunately, I don't know how long it takes for the ink to dry.

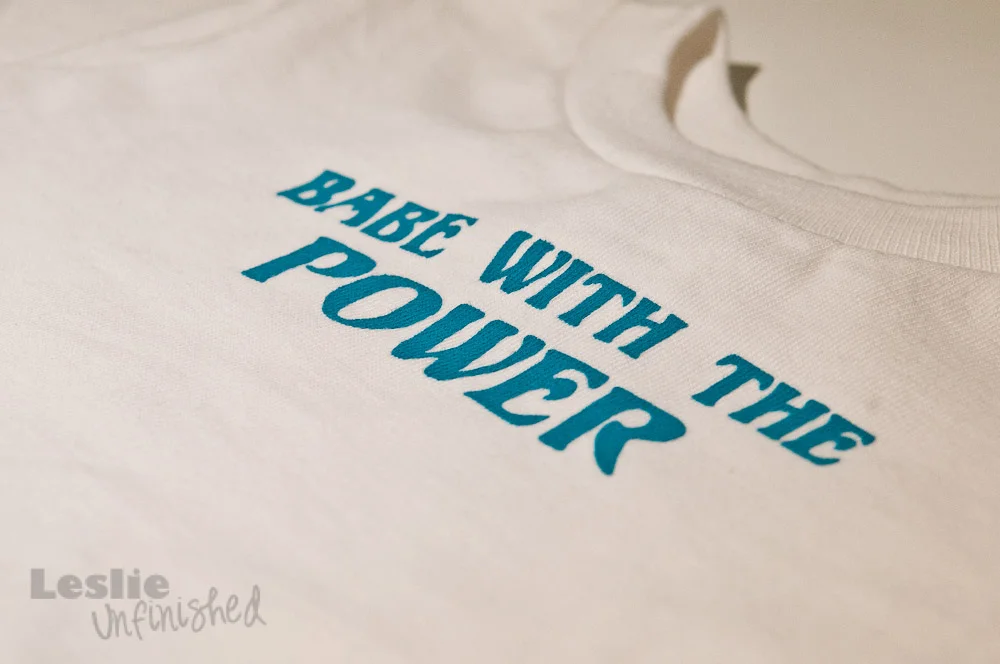
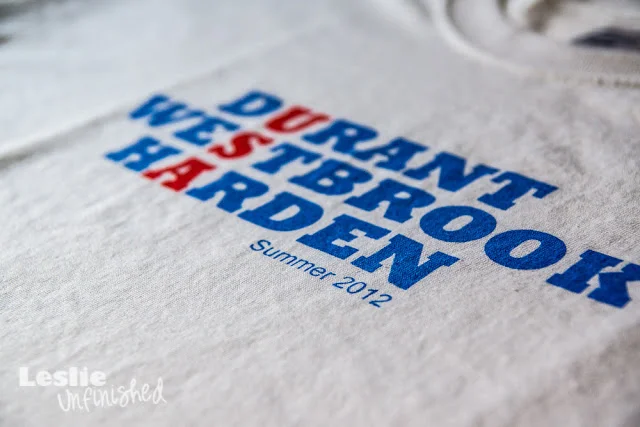
For the first time in history, three players from the same NBA team are on the USA Men's Olympic Basketball Team. Oklahoma City Thunder fans are pretty excited.
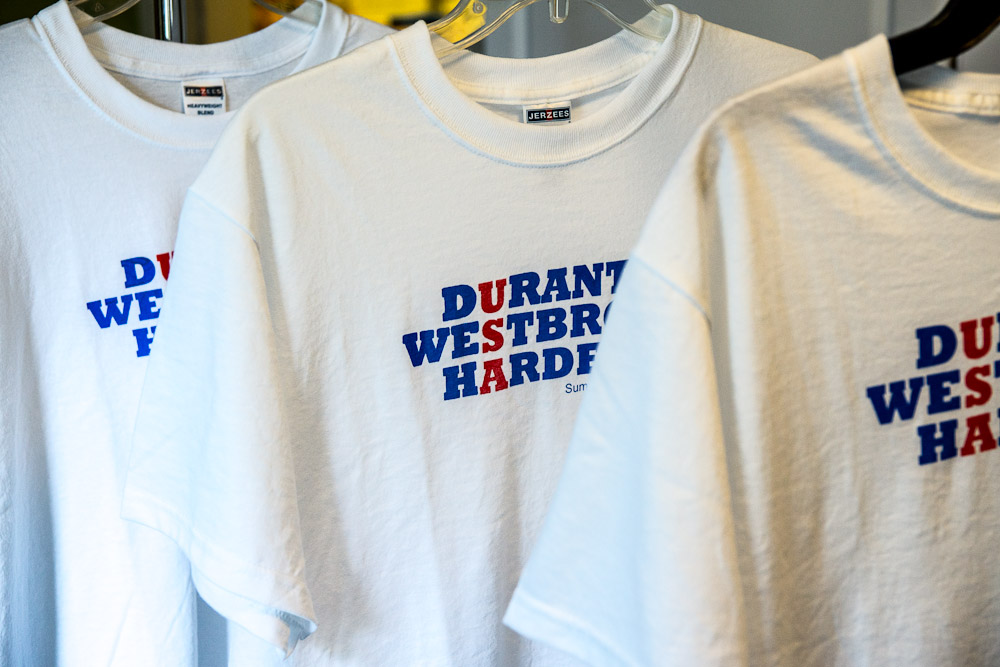
Licensing and copyrighting is a tricky thing and since I don't want to get in trouble, I printed just a few shirts. Just enough for my husband, son and I to wear while we watch the Olympics.

I love the Olympics and I'm looking forward to cheering our Thunder guys and country on to gold!U-S-A! U-S-A!Will you be watching the London Olympics? What's your favorite sport to watch in the Summer Games?