Photo Quilt Part 1: Getting Started
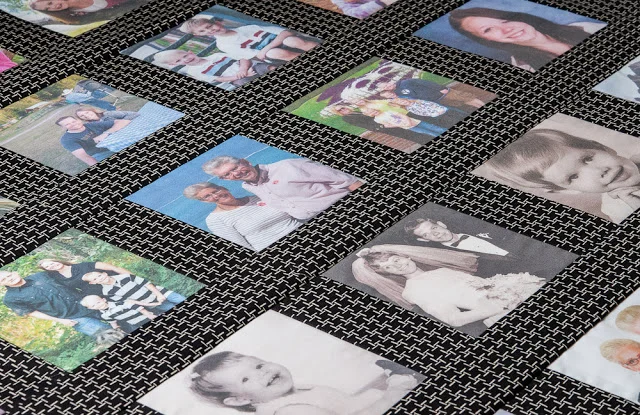
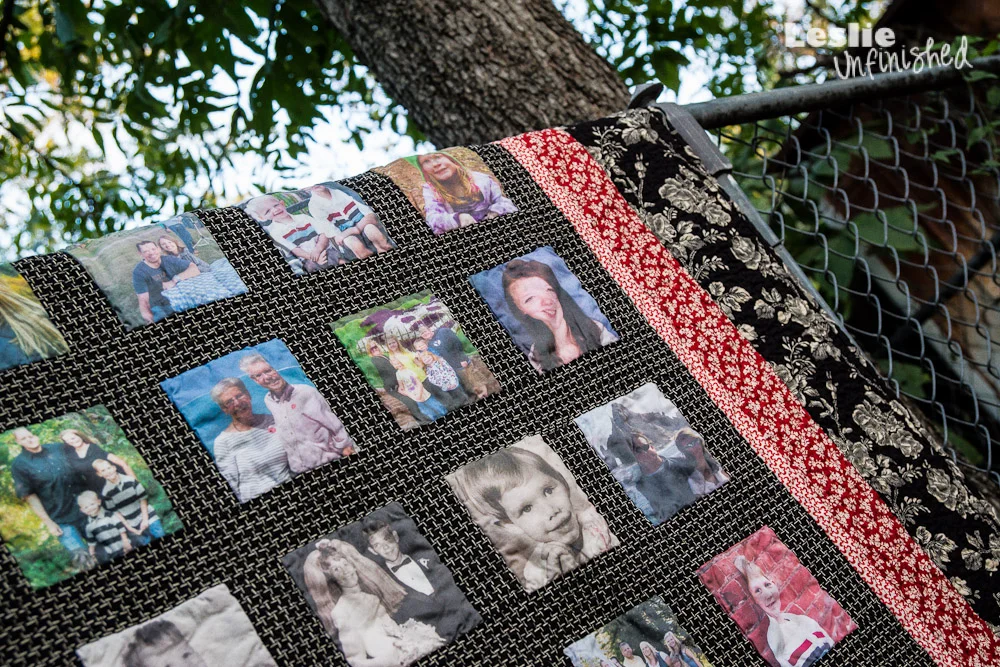
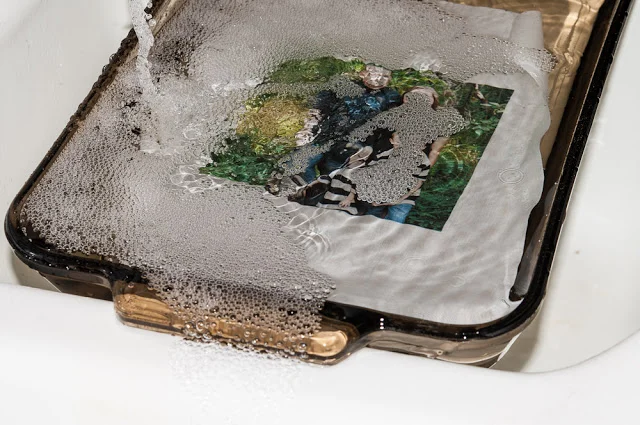
I've been trimming the photo sheets today, and wow! it is back-breaking work. I need to give my back a rest for a bit, so thought I'd fill you in on some things I've already learned regarding photo quilts.Getting Started:1. Printing your photos. We purchased fabric photo sheets by Printed Treasures at our local quilt shop. The fabric is adhered to a piece of paper so that they can go through your ink jet printer. The fabric quality seems great. Select your photos and crop them bigger than your finished size (see Number 4 below). Then, hand-feed each photo sheet through the printer and print all the photos. Set the photos aside to let them dry.2. Removing paper backing. AFTER your photos are completely dry (instructions say 1 minute) slowly peel the paper backing from the fabric panel.NOTE: This is where I had a little trouble. I don't know if it's because my photos sat for 2 weeks or maybe the adhesive on the paper gets old, but some of the paper backing was really hard to get off. As in, some of the paper is still there! I don't think it'll make a difference in the end, but I had to pull quite hard on some of the panels.3. Rinsing the panels. After removing the backing, you're going to submerge the panels, one at a time in a low dish and let cool water run over it about 1-2 minutes. (I set my 9" x 11" dish across my sink at an angle and let the water run off.) I didn't notice any extra ink coming off. Again, maybe that's because they sat for 2 weeks.


Photos are trimmed, my back is rested and I'm ready to start sewing!