Jul 26 Jul 26 Planning: Rustic Hillside House Quilt Leslie Unfinished 20 Mins- A Day, Planning is Half the Fun
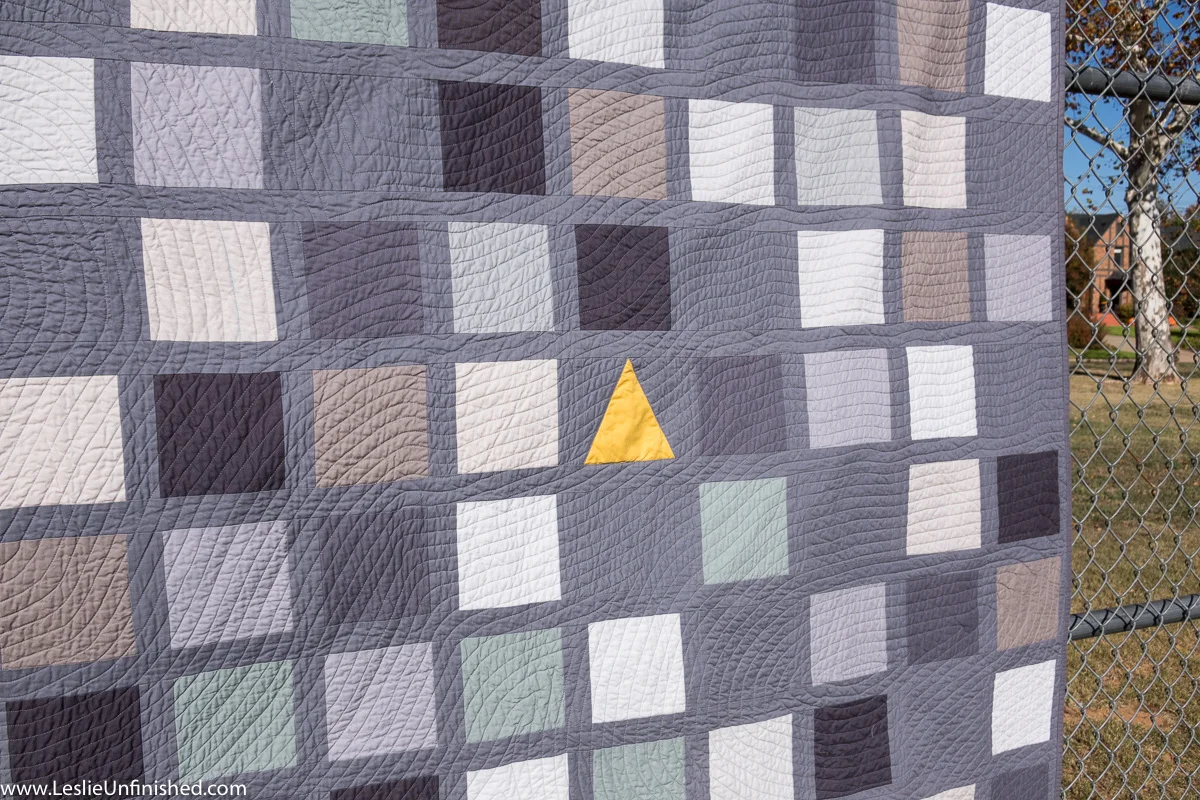
May 15 May 15 Modern Kids Quilt Leslie Unfinished Baby Quilts, Blogger Quilt Festival, Charity Quilt, Quilts
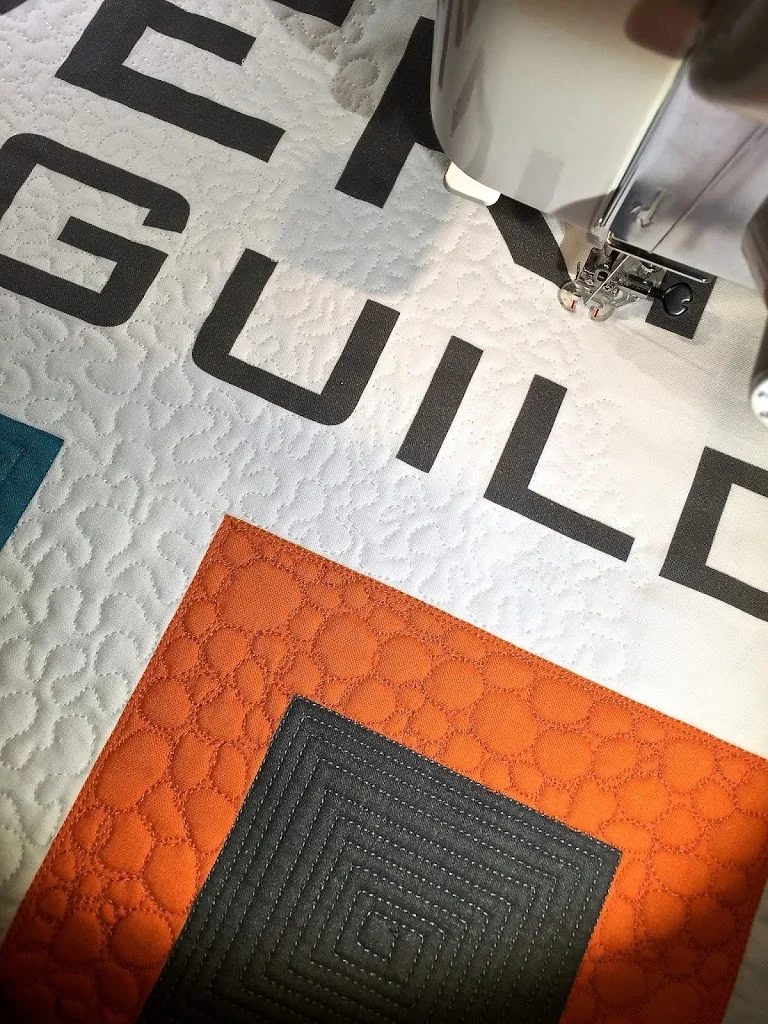
Jan 19 Jan 19 Quilted Banner for OKC Modern Quilt Guild Leslie Unfinished Finished Project, Free Motion Quilting, OKCMQG, Project Tips, Quilts, The Basics, Tutorials